

Fermented garlic honey is a very simple recipe to make and a great ferment to have on hand for cold and flu season. All it requires is peeling garlic cloves and pouring honey over them. Simple, however you will need some patience while the fermenting process takes place. Weeks to months depending on how mellow you’d like the garlic to be. The honey does taste great just a few days in though so sampling it early is inevitable.
Ingredients Needed For This Recipe
You will only need two very simple ingredients here. Any amount of garlic you like and your favourite raw local honey. That’s it! The only other ingredient is time, because this ferment tastes better the longer it sits. The flavours slowly meld together making the garlic much more mellow.
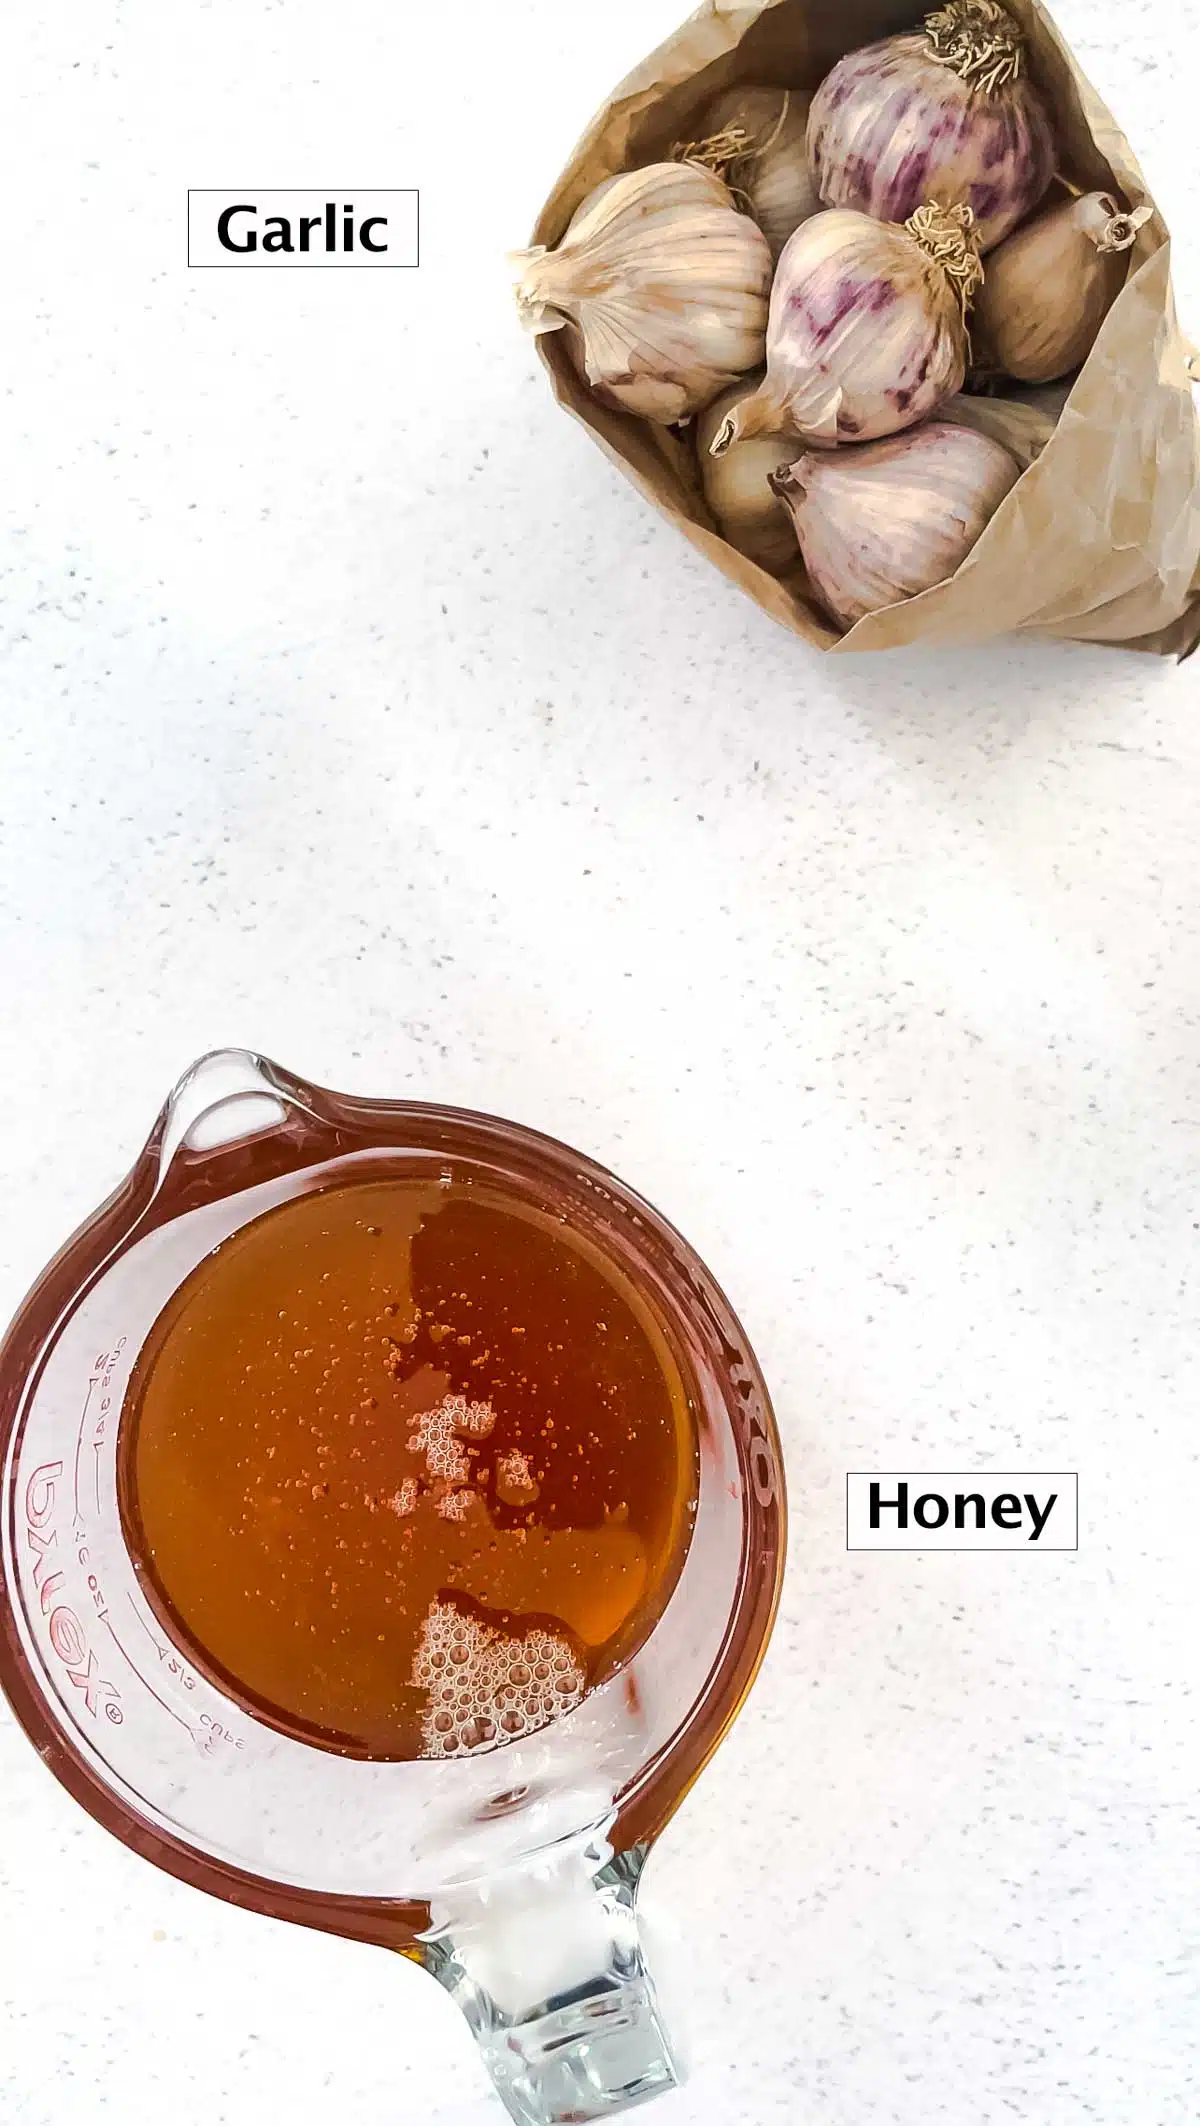
- Whole Garlic Cloves – you’ll need several heads of garlic for this ferment. The amount used is dictated by the size of the jar used. I had a large jar, 750ml / 1.5-pints, which used roughly 12 small heads of garlic.
- Local Raw Honey – Given this ferment is used for its medicinal benefits, raw honey / unpasteurized honey is the better choice, as it has the highest nutritional compounds to offer.
Once this has fermented it will be used quickly. As such, while it might be a bit laborious to peel a tonne of garlic cloves, I do recommend it. That way you’ll have fermented garlic in honey for many months, not just a week.
How To Make This Fermented Garlic Honey
This is as simple as it gets! Peel the garlic and cover it in honey. However, it is also important to make sure the cloves you’re using are not bruised or spoiled. This can and will likely affect the fermentation process. So, take the time to look over them once peeled, chop off any bits that need it or discard the whole clove if necessary.
- Peel all the garlic cloves and cut the bases off that were attached to the root.
- Cut out any bruised bits or discard the whole clove in need.
- Put the peeled raw garlic cloves into your very clean glass jar and pour honey over the top leaving roughly 5cm (2 inch) headroom. A little more is OK too.
- Stir to coat all the garlic cloves. I like to use a chopstick for this. It’s the easiest way to move all the garlic around.
- Pop the lid on the jar and set it aside to ferment in a spot out of the sun for a month at room temperature. Be sure to turn the jar a few times every day to help keep the garlic submerged in the honey. Just tighten the lid before you turn it or you’ll have honey spilling out. Note: Gases build up during fermentation that can lead to exploding jars! As such, for the first week of fermentation, it’s important to ‘burp’ the jar a few times a day. To do that you simply loosen the lid, then tighten it again. You may hear a pop as you do it, which is just the gas being released.
What are the health benefits of fermenting garlic in honey?
Garlic-infused honey is a very old, natural remedy that is brimming with good bacteria. It was used historically for its antibacterial, antiseptic, antiviral, antimicrobial, and immune-boosting properties. It’s particularly favoured in the cooler months for its immune system support, and to soothe sore throats. A great food as medicine to have in our autumn/winter toolbox. On top of that, we have the medicinal properties of garlic to consider too. You can find more about that in my Garlic Miso recipe.
Can I take garlic and honey every day?
Yes! And you can reap the rewards of all the beneficial properties it contains. They’re two natural ingredients we use in our cooking almost daily so there’s absolutely no issue enjoying them when fermented either.
How long can you leave garlic in honey?
A honey ferment has a long shelf life. However, for flavour purposes, this ferment is best used within 12 months. I’ve had one sitting around for two years and the garlic crystalised a little. Still fine to eat but I suggest 12 months for maximum taste


